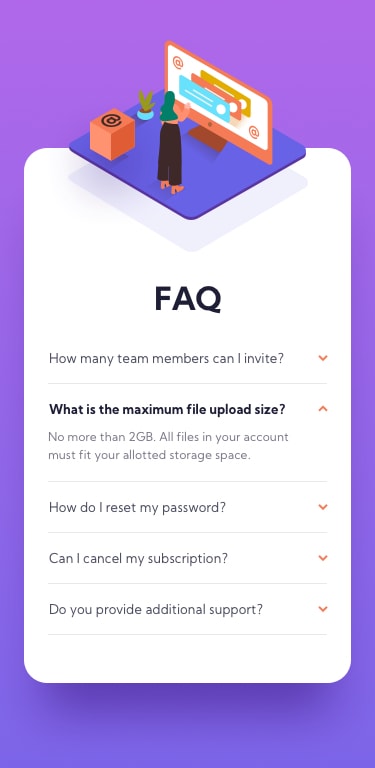
How to use the for loop method to create a drop down or a FAQ section.
Using the for-loop method with addEventListener "click" to create a drop-down

Wonuola is front-end developer and a technical writer; who loves sharing her thoughts through her code or in writing!
For loop method
A few months ago, I had issues solving this " Front-end mentor challenge" because I didn’t know how to use a for-loop method . After learning to use the for-loop method and the toggle class, it became a walk in the park.
Yayyy!! 🎉
I’m sure you are wondering how I did it.
Well, that’s why I wrote this! Let’s dive right into it.
In HTML
Step 1:
Ensure each question and answer or each dropdown tag and its contents are in a common div.
Step 2:
Assign a common class to each drop-down tag or FAQ button.
Step 3:
Assign a common class to each FAQ answer or the drop-down content.
Example:
<div class="container">
  <div>
    <button class="tag"></button>
    <p class="answer"></p>
  </div>
  <div>
    <button class="tag"></button>
    <p class="answer"></p>
  </div>
  <div>
    <button class="tag"></button>
    <p class="answer"></p>
  </div>
  <div>
    <button class="tag"></button>
    <p class="answer"></p>
  </div>
  <div>
    <button class="tag"></button>
    <p class="answer"></p>
  </div>
</div>
In JavaScript
Step 4:
Assign each given class to a querySelectorAll().
const btn = document.querySelectorAll('.tag');
const answer = document.querySelectorAll('.answer');
In this case, “btn” represents each button that has the class of "tag".
Now we bring in the for loop.
for (let i = 0; i < btn.length; i++) {

   } )}
Here, “i” represents a temporary variable that holds the current array index. This current array will run through the for loop method. Please note that it’s not compulsory to use the letter “i”. Any letter works just fine. However, ensure that you don’t change it along the line.
The “btn.length” represents the length of the array and displays the “btn NodeList” as shown below.
NodeList(5) [button.tag, button.tag, button.tag, button.tag, button.tag] length: 5
Step 5:
Add an event listener to the “btn” so on every “click” a function is carried out.
for (let i = 0; i < btn.length; i++) {
    btn[i].addEventListener('click', ()=>{
   } )}
To see if this works, test it with a console.log
for (let i = 0; i < btn.length; i++) {
  console.log(btn);
    btn[i].addEventListener('click', ()=>{
   } )}
Step6:
Add the toggle class
The toggle class moves from adding a class to removing a class on whatever event it is placed on.
for (let i = 0; i < button.length; i++) {
  console.log(button);
    button[i].addEventListener('click', ()=>{
        console.log('n');
        button[i].classList.toggle('display')
        answer[i].classList.toggle('show')

   } )}
To use a toggle class, you have to include the styling in the CSS file. Just as the styles below
.display{
    transform: rotate(180deg);

}
.show{
    display: block;
}
So whenever you click on the buttons or the tag, the styling and the functionalities work.
I hope this was helpful. I’m open to comments and ways you implement the code.
Click here to view the front-end mentor challenge


